
2D basics
Browse with default gestures; selected tools take priority.
On this page
Mouse controls and slices
By default, left-drag adjusts the window, right-drag zooms, and the wheel browses slices. A selected tool such as Pan, Measure or Annotate takes priority on the left button; crosshairs and locator handles retain their left-button actions. Right-drag zoom does not switch tools or cancel unfinished measurements. The Browse panel jumps to the first or last page, or 10 pages backward or forward.
Windowing and inversion
Drag with Window to adjust WW/WL, or enter values and press Enter or click Apply. CT accepts one decimal place; MR accepts three and adds Auto window. CT / MR Invert changes brightness polarity without changing source values or statistics. PET uses its own display range and units. Window width and level submit together; focus loss does not apply them. Esc cancels the group, and changing viewports or leaving the panel discards unapplied input. Scalar display minimum/maximum also submit together with Apply or Enter.
Zoom and orientation
Drag with Pan, Zoom or Rotate. Choose any whole-number zoom level from 1× to 10×. At 1× the image fits the viewport. Select Rotate, then drag around the image center to rotate freely. Each click on CW 90° / CCW 90° or a flip action applies it once; dragging still rotates afterward. Select another tool to leave rotation mode. Reset rotation restores display orientation and flips. The angle is saved with the workspace. Drag the zoom slider to adjust magnification from 0.1× to 20×.
Place the pointer over any image viewport and spread two fingers to zoom in or pinch to zoom out on the trackpad, without changing tools. Supported in 2D, MPR, CPR, fusion, comparison, montage and 3D/4D views, within 0.1×–20×. On a touchscreen, zoom is centered between the two fingers. On a trackpad, zoom is centered at the mouse position inside the viewport, falling back to the viewport center when no valid position is available. The anatomy under this anchor stays fixed. Zoom affects the image under the pointer and respects enabled zoom links. Montage scales all tile images together. Two-finger scrolling continues to browse slices or scroll the grid.
Important
Check before resetting
For tools such as window/level, pseudocolor and zoom, the reset button stays at the bottom of the sidebar as you scroll. It restores the active tool’s parameters.
More → Reset all (also available in the collapsed toolbar) restores the view and clears the corresponding measurements and annotations in that viewport. Save the workspace first if you need to keep those results.
Arrange viewports and drag series
Click Layout on the right to choose a single view, rows, columns, a grid, or a main-view layout. Custom grids can contain up to 6 × 6 viewports.
To fill an empty viewport, drag a series from the left sidebar into it. Dropping onto an existing image replaces it. Click a viewport before using the tools on the right. Double-click the image to enlarge it temporarily; double-click again to restore the layout. Reducing the layout hides extra viewports; expanding it restores them.
For more viewing space, collapse the left sidebar or drag the left edge of the right toolbar to resize it. The width is remembered. Thumbnails in the collapsed left sidebar still support dragging.
Common tools are shown directly; other tools are under More. Toggle left and right button labels separately under Settings → Appearance and language → Button labels. Hover to see the full name.
Original slices and reconstructed planes
Use the selector in the upper-left corner of each 2D viewport to choose Original slices, Axial MPR, Coronal MPR or Sagittal MPR. Original slices retain their acquisition orientation, with the actual plane (including Oblique) alongside. Reconstructed planes use the current series volume, without switching source series. Their position appears alongside without repeating the plane name. Positions retain S/I, L/R, P/A and mm; hover for an explanation. These are not slice thicknesses or slice numbers. Missing spatial information is shown as unavailable. Incomplete volume data produces an error inside the cell; Original slices remains available. Each mode retains its own slice, window, zoom and measurements. The workspace restores cell sources, modes and layout. The plane selector follows corner-information visibility. Re-enable corner information in Viewport settings to restore the selector.
Compact right toolbar
Use the arrow next to the maximize control at the right of the tab bar to collapse or expand the tools. The 44-pixel rail keeps the window/level, scroll, pan, zoom and 3D rotation tools available for the current view. Select Measure, Rotate or Annotate to show actions beneath it. Pseudocolor opens its palette to the left. Reset all at the bottom of the rail has the same effect as More → Reset all in the expanded toolbar.
Click Play to loop through the active view’s slices; click again to stop at the current position. Both expanded and collapsed toolbars offer Play / Stop. Set 1–15 FPS in the expanded panel. Switching views or tabs stops playback; single images cannot play.
Viewport display settings
Choose Active viewport or Entire tab in Viewport settings → Apply to. Control corner information, patient privacy, scale and color bars, orientation markers and fit to window. Entire tab includes hidden cells; new cells inherit its settings. Other tabs are unaffected. A dash indicates mixed settings; click to set all cells on or off. Orientation markers are patient direction letters such as A/P, R/L and H/F. Original slices and independent reconstructed 2D cells have no linked crosshair, so their settings omit Localizer. MPR retains this option.
Corner visibility follows global settings by default. A manual viewport change overrides that default. Use Follow global corner visibility to restore it.
Square viewport resizes the application window to make the active 2D canvas square. Manually resizing the window or sidebar to a different aspect ratio turns it off. It does not lock every cell when Entire tab is selected.
Maximize the image area
Click Maximize image area at the right end of the tab bar to hide both side panels, including their toolbars. Click Restore image area in the same place to restore their widths and expanded states, or use F12 (Fn+F12 on some Mac keyboards).
Images, measurements and edits are preserved. This affects only the current window and is independent of system fullscreen. Settings and the manual display normally; returning to an image resumes maximization. Restarting the app returns to the normal image area.
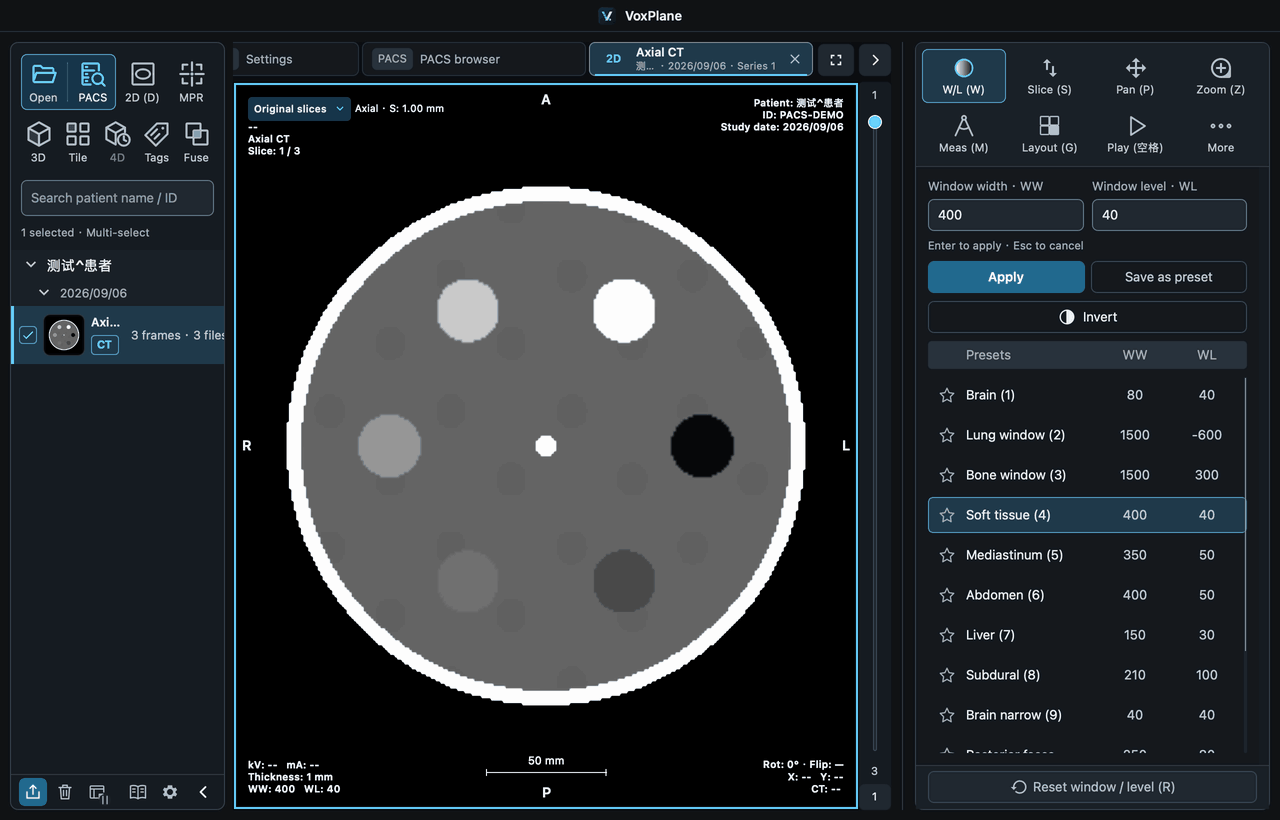
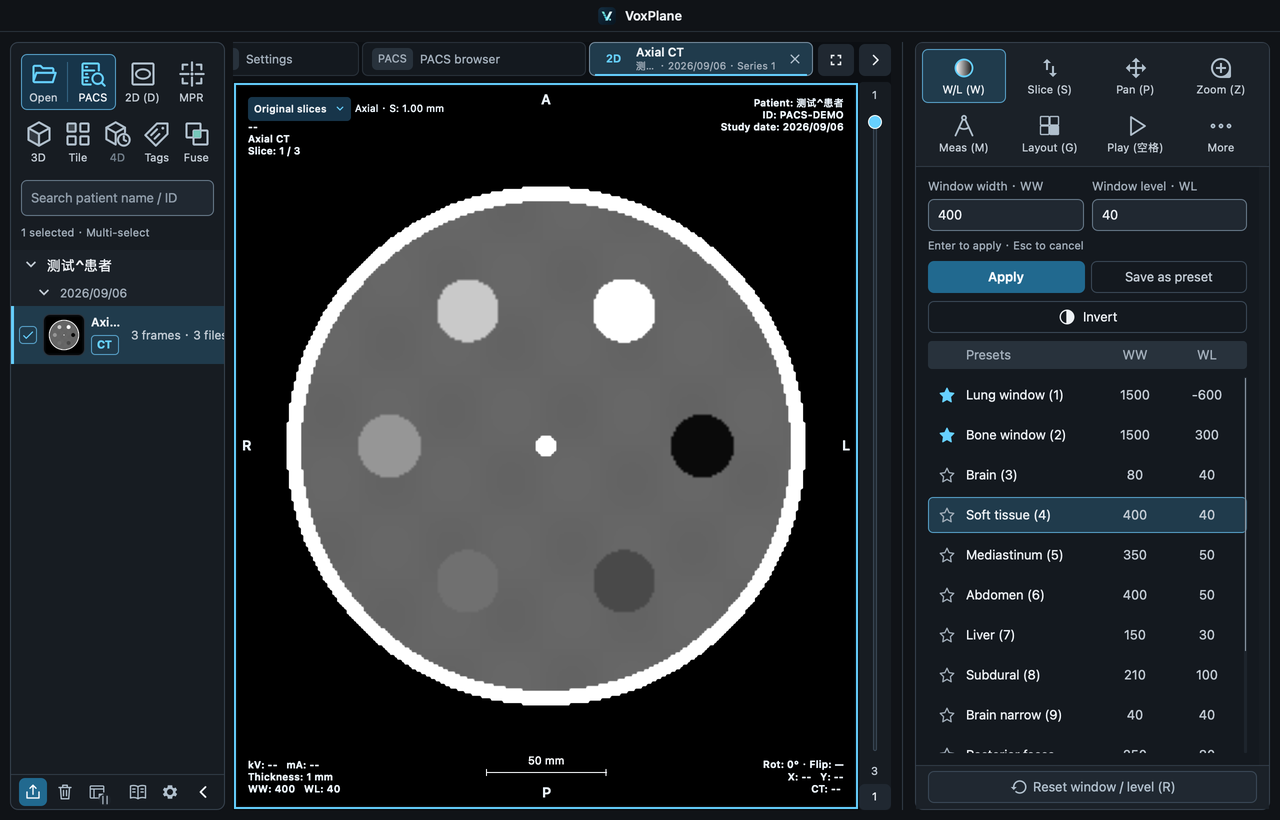
Favorite presets and independent scrolling
Click ☆ beside a window preset to favorite it. ★ presets appear first; click again to remove the favorite. Manage the same favorites in Settings → Window presets. Favoriting changes list priority only: it does not apply a preset or change the current window. Click the preset name to apply it.
Scrolling inside the preset list moves only that list. Window width, level and action buttons above it stay in place, including at the list boundaries. Favorites survive restarting; removing a favorite restores its normal ordering.